Run DynThings for the first time
Summary: Run the built-in setup wizard to access the platform for the first time.
Topic Last Update: 12/21/2017 6:07:03 PM
Overview
Finally the last step, you must configure the platform behaviour to get started with DynThings.
Before You Begin
Ensure that all previews sections have been implemented without any issue.
To Run DynThings for the first time
Using the browser, navigate to <Your DynThings Hosting URL>/Setup. You should get the setup page, if it doesn't appear, please double-check the previews Topics in this section.
Using the Setup Wizard, follow the steps to config the behaviour of the Platform as mentioned below:
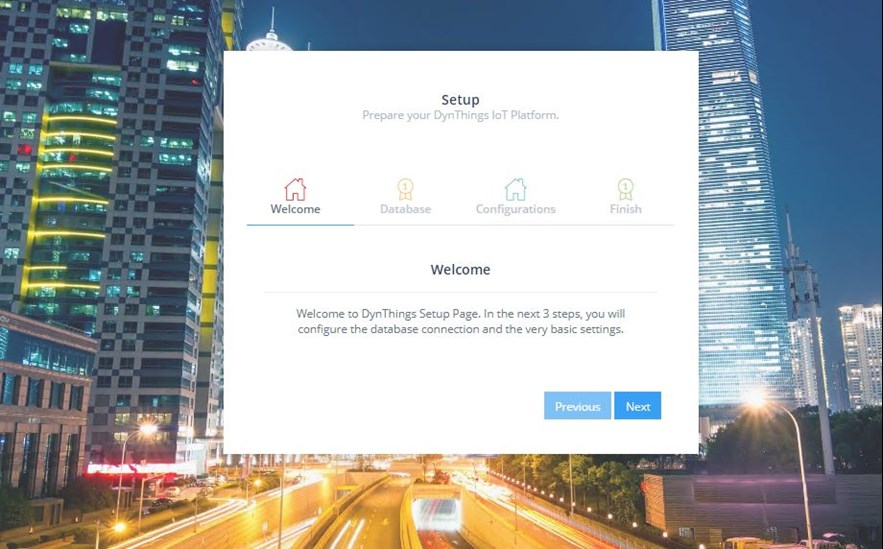
Welcome
Just a welcoming page, you know what you have todo, just click "Next" button.
Database
Fill the SQL Server database login info, if you have the SQL Server and DynThings Web Application both are installed on the same server, you can type "(local)" in the "Server" data entry field.
Test the database connection by clicking on the "Test Connection" button, if it's succeeded click on "Ok" button.
Configurations
This section is to setup the Platform behaviour, set the configuration as mentioned bellow first fill the "Platform Title" field with a unique title for your implementation such as "My DynThings" or "My Company IoT Platform". Set the "Local Time Zone" as per your regional Area Time Zone.
Public Access
Enable this option if you want to let anyone access the platform unless the user is accessing the administration part, no authentication will be required.
Public Sign UP
Enable this option if you want to allow anyone to self-signup, if you didn't enable this option, the administrators have to create the user's account.
Development Mode
Enable this option if you want to maintain the development behaviour, in this case, the platform will send any detailed error messages to end-users. For security perspective, this option should not be enabled in production mode.
After completing the platform Setup, the wizard will redirect you to Master User (Administrator) creation page, click on "Create Administrator" button to create your first Administrator.
Note: in case that you already have Administrator user in the database, the setup will skip this step and it will ask you to log in using any pre-existing user's account.